There are a few special pieces of baking equipment that almost every baking recipe will need. One of the most essential baking tools you need is usually baking pans of different sizes and shapes. Whether you're baking a round cake, a batch of cookies, or some brownies, you will need a baking pan.
When you use any kind of baking pan, it's normal to see the recipe instruct you to either "butter and flour" the baking pan or "grease and line" it. To butter and flour a baking pan, you just need to lightly brush or rub the baking pan with either oil or butter then dust the entire pan with flour so it's coated evenly. Tap out any excess so you don't end up with a floury cake.
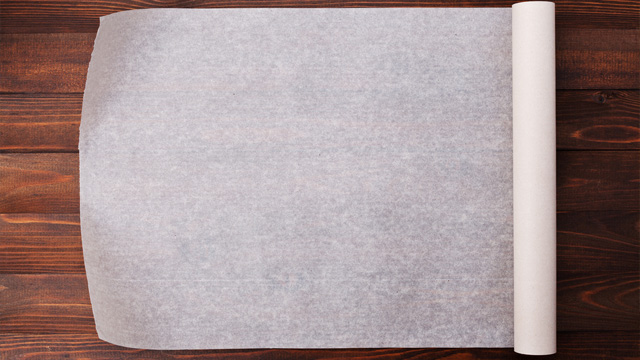
If you prefer a less messy way of ensuring your cake doesn't stick, you can use parchment paper aka baking paper. Using parchment paper will almost always be a good idea. Not only will it ensure that your cakes and cookies don't stick, but parchment paper also makes cleaning your baking pans easier to clean, too. Plus, they're reusable. (It's okay for the paper to brown.)
When using baking paper, it's easy to line pans when the baking pan is flat like a cookie sheet. Just cut the baking paper to the size of the sheet and place it on the sheet. Keep it in place with a little dab of oil or butter. However, when the sides go up or if the shape is not a rectangle, it's harder to figure out.
Here are the different ways to line different shapes of baking pans:
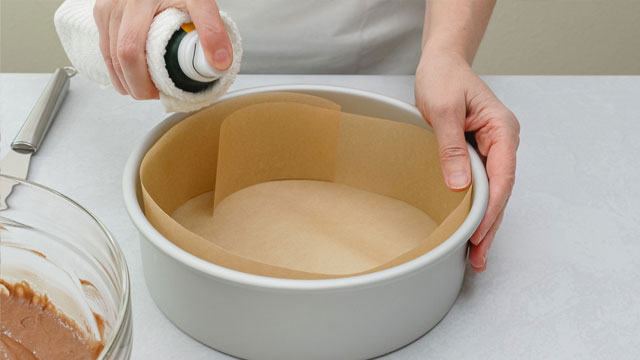
1 How To Line A Round Baking Pan
Lining a baking pan that is round in shape takes some practice to do perfectly. The bottom of the pan is easy to line. You can do it two ways:
- 1 Trace the outline of the pan on the paper and cut out.
- 2 Fold the baking paper, measure, cut it to size, and then unfold to reveal a perfect round paper.
That second method sounds complicated but it is actually easy to do. You just need to know how to do it.
To line the sides so you can easily pop out the cake from the pan, you need a strip of paper that's the same length as the circumference of the pan and the height of the pan, too. Just wrap the paper around the pan and cut to do this easily. Then trim off any excess so that the tops are not overly high that it will touch the top of the oven. Secure these pieces of paper with a little oil or butter.
[ArticleReco:{"articles":["10220"]}]
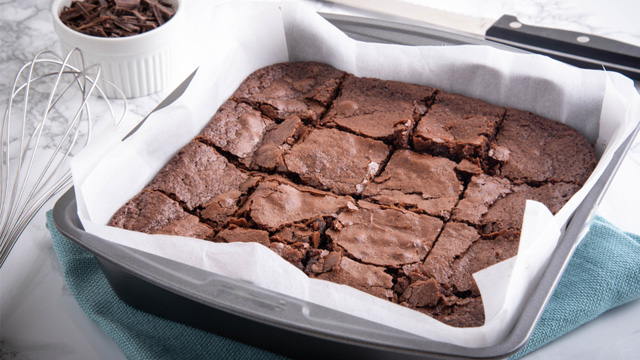
2 How To Line A Square or Rectangular Baking Pan
Lining a square or rectangular pan is easy as well. You will still require the pan to be lightly greased so the paper can stay put before you cut the paper. You can cut and shape the parchment paper three ways:
- 1 Use two sheets.
- 2 Cut the sides to fit the shape.
- 3 Press paper into the shape of the pan.
To use two sheets of parchment paper, cut two sheets that are the width of the pan. Place one down then turn the baking pan. Lightly grease the paper and place the other sheet on top so that the two sheets are crossed. This ensures all four sides are covered with paper.
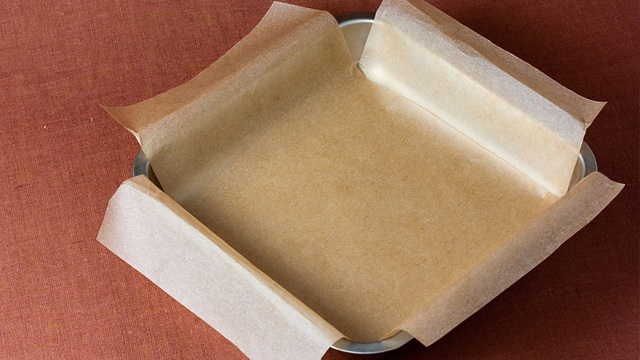
To cut the baking paper to size, you can simply make a diagonal cut from the corner towards the corner of the pan. Fold over the overlapping paper to fit inside the pan. You can also cut the corners off so the corners fit snuggly into the corners. Press down to fit the paper inside.
The third way to line a square or rectangular pan is to simply press the paper into the greased pan. Press down the paper in each corner so it molds to the pan.
3 How To Line A Loaf Pan
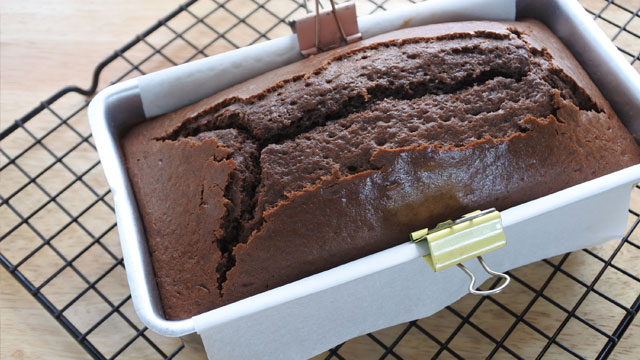
A loaf pan is essentially a rectangular pan. You can use the two sheets method to line the loaf pan or you can just use one. Using just one parchment to line the long sides saves you from using more parchment paper than you need. It's easy to release loaves from loaf pans since a quick knife run along those short sides usually releases it.
If you have an overhang, keep those flaps down using metal binder clips. Since it's made of metal, the metal clips will stand up to the oven heat.
4 How To Line Cupcake Pans
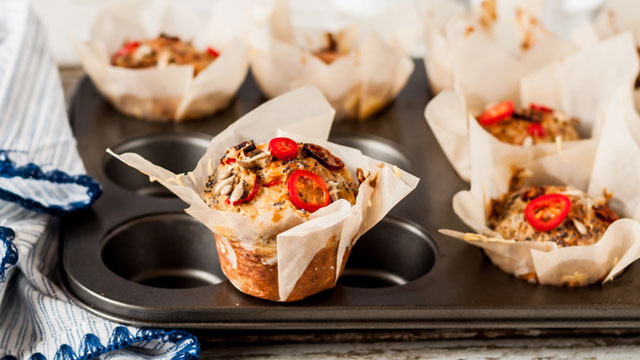
Cupcake pans are easy to line! You can use cupcake liners and these are easy and fantastic to use since they come in various sizes as well as colors and patterns. If however, you find that you run out of these on baking day, you can use parchment instead!
The trick here is to make sure you use enough paper to cover the sides and up. Just lightly grease the cups as you would any baking pan and then press parchment paper cut to size into the cups. The batter will weigh down the parchment later.
No need to trim the tops since these make a pretty shabby-chic presentation.
[ArticleReco:{"articles":["19065","20709","21841"]}]
***
How To Perfectly Grease And Line Your Baking Pans
Source: Daily Buzzers PH

0 Comments